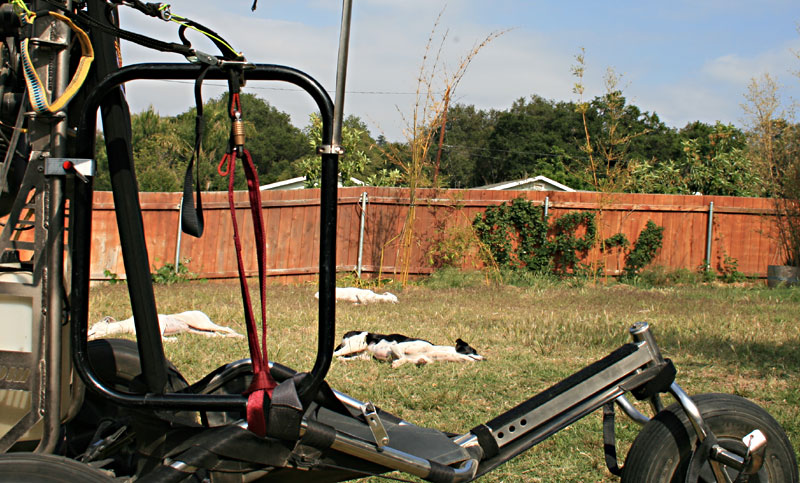
Assembly Instructions
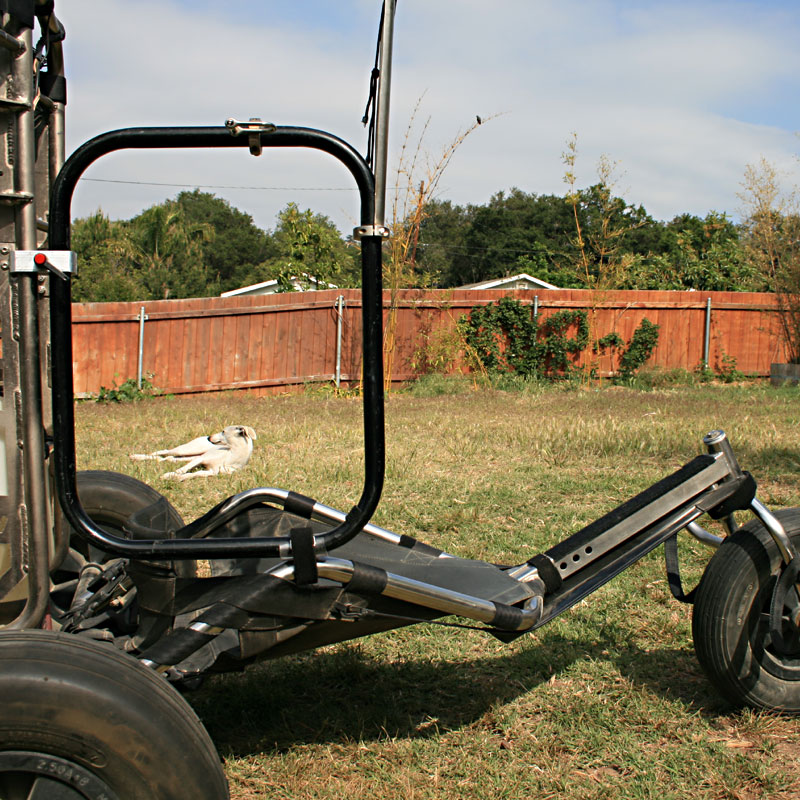
Congratulations and Thank You for your purchase of the TrikeBuggy Low Hangpoint Kit!Please Note:There are two positions in which the Low Hangpoint Kit can be used. The first puts the Caribiners just below the top of the Power Loops, effectively lowering the hangpoint by 4-5". The Assembly Instructions for this position are what follows. Either way you choose, you must MEASURE your risers so we can send you the proper length Hang Straps. The second and lower position puts the Trimmers of your Power Gider below the top of the Pwer Loop, held by the Riser Guides. To find the Assembly Instructions for this Lower Position, please CLICK HERE. To attach the Low Hangpoing Kit to the TrikeBuggy, first remove the Power Bars and all clamps from the Buggy. Attach the Power Bars about one inch lower than they were previously attached, so that the lower corner of the Power Loops rest directly on the hip curve of the Kite Buggy. A piece of vinyl tubing is good to soften the contact point between the Power Loops and the Buggy, but is not necessary.
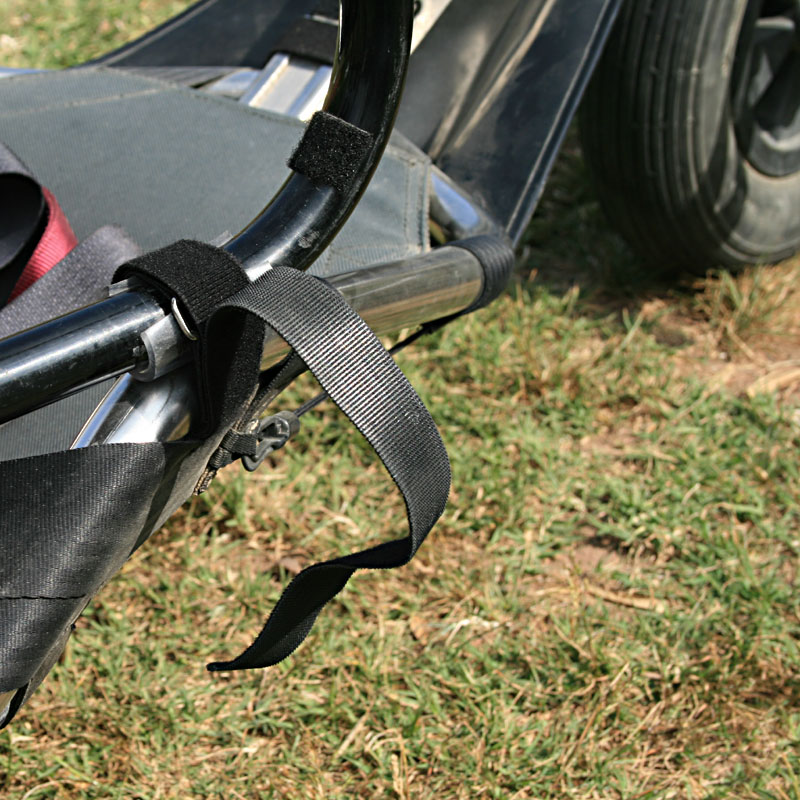
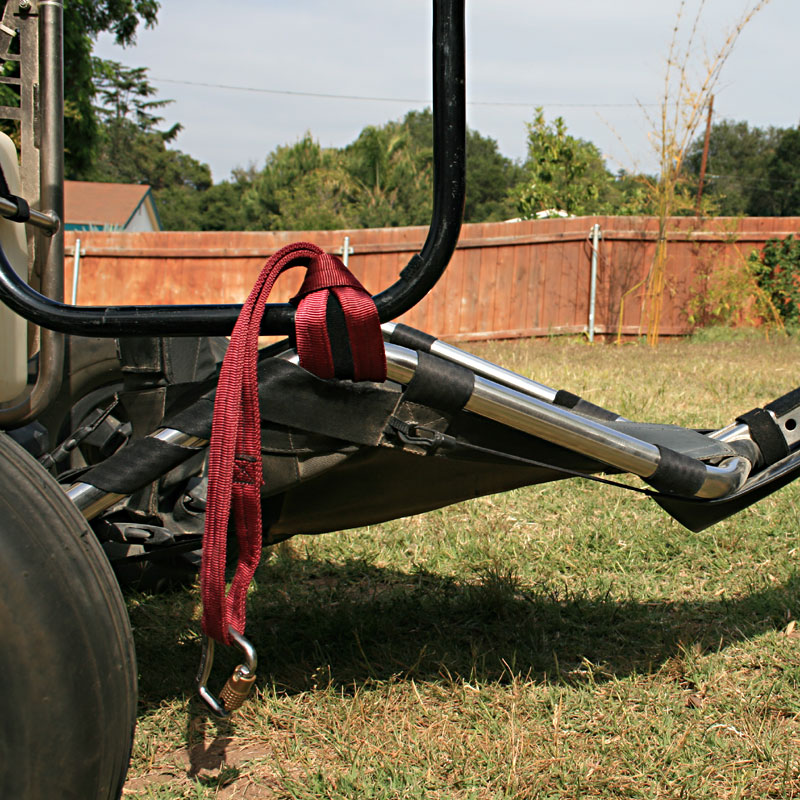
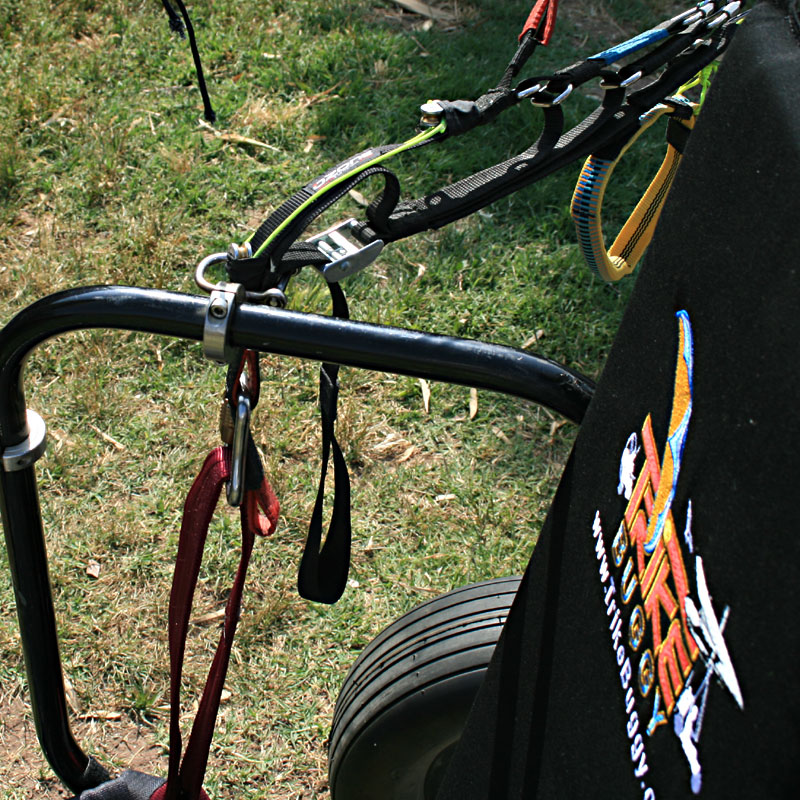
Attach the Power Loops and the Buggy together using the Velcro Straps as shown.
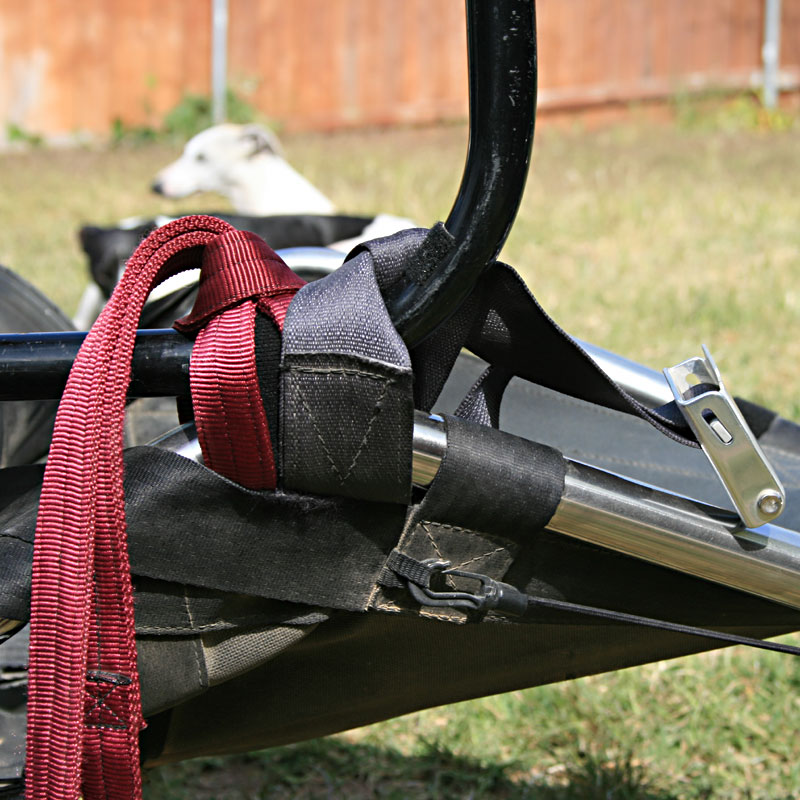
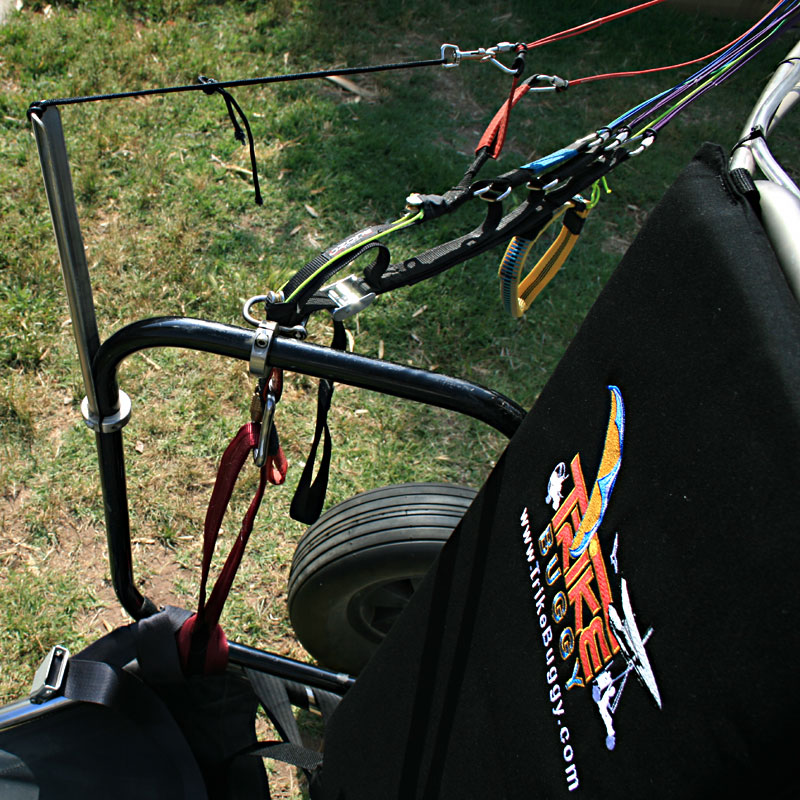
Position the Riser Guide on the top of the Power Loop exactly where the previous Split Shaft Collar was located (approx 13" from the paramotor frame) and tighten gently.
Lower Hangpoint
If there are any questions or concerns, please feel free to call me anytime (Chad Bastian at 805-403-1859) on my cell phone, or email me at chad@TrikeBuggy.com. If I'm not flying at the moment, I will gladly assist you.
|
|
|---|
|
DISCLAIMER: Please read and be sure you thoroughly understand this disclaimer before flying a TrikeBuggy. Trike flying is an extremely demanding sport requiring exceptional levels of attention, judgment, maturity and self discipline. It is unlikely that you will be able to participate in it safely unless you make a conscious and continual commitment to your own safety. PPG and Hang Glider Trike flying is a dangerous sport and may result in injury and death even when practiced by a competent pilot using proper equipment. TrikeBuggies are not covered by product liability insurance, nor have they been designed, manufactured or tested to any federal or state government airworthiness standards or regulations. Do not fly them unless you are willing to assume personally all risks in the sport of Trike flying, and all responsibility for any property damage, injury, or death which may result from your use of this TrikeBuggy. Safe operation of the TrikeBuggy requires a pilot proficiency equivalent to that of a BFI (Basic Flight Instructor), as well as an equivalent level of knowledge and understanding of those wind and weather conditions which may compromise the pilot's safe control of the TrikeBuggy. In particular, be advised that gusty winds or turbulent conditions may interfere with even an expert pilot's ability to safely control the TrikeBuggy, and may cause it to crash. Never take anything for granted in Trike Flying. If you are in doubt about anything, stop and figure it out or contact TrikeBuggy. Also please read our Warning and Caution! |